Listen to the automated audio version of this article:
0:000:00
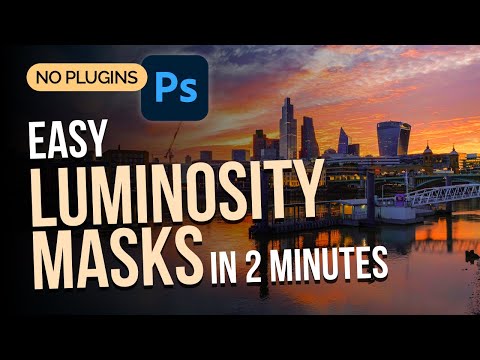
I wrote about Luminosity Masks in Photoshop already on this blog. It’s a very powerful technique I use in my landscape and cityscape photography. I find it much more efficacious than letting my camera or software randomly decide what a good HDR photo is. Yes, it may take a bit longer. But the results a far more satisfactory.
When I first heard about Luminosity Masks, it seemed quite a complex concept to me. Daunting even. But in reality, it’s pretty simple to grasp. And it’s only a matter of memorising the steps to take it further if you want anything more advanced.
In fact, I find it so simple now, that I managed to explain all there is to know in just 2 minutes in my latest YouTube video!
In the rest of the video, I then go on with editing a photo to show how Luminosity Masks in Photoshop are applied. But the tutorial is precisely 2 minutes long. And doesn’t require any plugins!
The photo I used is a fantastic sunrise I witnessed after a night spent out photographing Comet Neowise. You might remember it from this post ;) I witnessed the comet, a nice moonrise and an exceptional sunrise all in one night. And all in great company. I wish all nights out were so good! :)
There are often tutorials pretending to be this fast and then digressing. Here, my luminosity masks lesson is exactly 2 minutes. The on-screen clock can’t lie! :)
I told you it’s easy.
Luminosity Masks in Photoshop are EASY! All You Need to Know in Just 2 Minutes!
If you find any of the content on this blog useful, or if you kindly decide to support my work and help me create more content for you, you can donate via PayPal . Donation can be as low as £1 or as high as you want, but know that I think you are a wonderful human being and I can't thank you enough.
Purchasing anything from my store goes a long way in supporting my work and allowing me to create more content for this blog and my platforms. Items start at £2.97 only. In the store you will find prints, presets, books and my tuition offers. Many thanks in advance!
You can find more of my prints on Etsy and Society6 (on Society6 I only publish 10 items at a time, on a bi-monthly rotation).
If you want to receive regular updates and exclusive content, notices of occasional special offers, etc, then sign up for the newsletter. There's also a 10% discount coupon for you upon signing and regular offers that are only available to subscribers.
To find out more about my photo gear, I created a dedicated list on Amazon and Kit.co
Disclosure — Please know that some of the links in this blog are affiliate links and if you go through them to make a purchase I will earn a small commission. Always keep in mind that I link companies and their products because of their quality and not because of the commission I receive from your purchases. The decision is yours, and whether or not you decide to buy something is completely up to you. Purchasing via these links will make no difference to the cost to you (if anything, you might even get a discount) but the commission I receive will help me pay a percentage of the costs for hosting and maintaining this blog.
Thank you!
fabienb
https://fabienb.blog
Creative. Nomad. Photographer. (he/him)
/// formerly: Creative Director, UX Lead, DesignOps Manager, Web/Graphic Designer, Photographer, YouTuber, DJ, Public Speaker, Content Creator, AI-enthusiast, Food-Blogger...
/// Award-winning Designer and Photographer, published and exhibited worldwide
/// also known as Koan (DJ, Design)
Listen to the automated audio version of this article: 0:00 0:00 100 I have finally managed to assemble the hours and hours of footage filmed in the Grand Bazaar in Istanbul and the surrounding area. Finding my way through it, along the narrow alleyways of the open-air markets, on the way to the Egyptian Bazaar, and more. The “Photographing The World” Series continues, and we now wander in Fatih, through the Grand...
Listen to the automated audio version of this article: Despite the drama in many debates and even in some parts of the video below, I’m not entirely sure this could be the end of Street Photography… But maybe it is? These days, everyone is focused on AI and all that auto-generated images can do to disrupt the industry. But at a much higher level, governments are introducing or updating their privacy laws,...
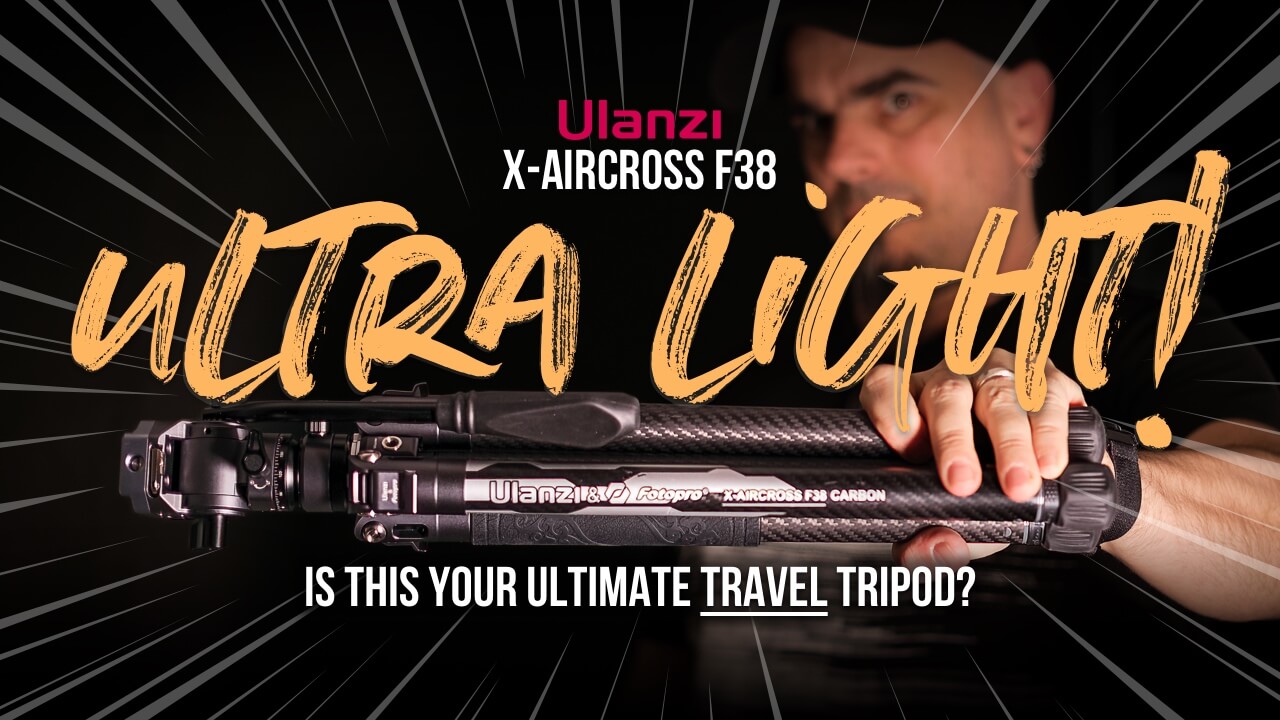
Listen to the automated audio version of this article: 0:00 0:00 100 A few weeks ago, Ulanzi sent me their new X-Aircross F38 travel tripod for video creators to review. When I created my channel, my goal was not to do gear reviews. But these seem to have become popular and get good engagement, so I have made a few of them. All available on this blog as well. And companies have...
We use cookies on our website to give you the most relevant experience by remembering your preferences and repeat visits. By clicking “Accept”, you consent to the use of ALL the cookies.
This website uses cookies to improve your experience while you navigate through the website. Out of these cookies, the cookies that are categorized as necessary are stored on your browser as they are essential for the working of basic functionalities of the website. We also use third-party cookies that help us analyze and understand how you use this website. These cookies will be stored in your browser only with your consent. You also have the option to opt-out of these cookies. But opting out of some of these cookies may have an effect on your browsing experience.
Necessary cookies are absolutely essential for the website to function properly. This category only includes cookies that ensures basic functionalities and security features of the website. These cookies do not store any personal information.
Any cookies that may not be particularly necessary for the website to function and is used specifically to collect user personal data via analytics, ads, other embedded contents are termed as non-necessary cookies. It is mandatory to procure user consent prior to running these cookies on your website.