Listen to the automated audio version of this article:
0:000:00
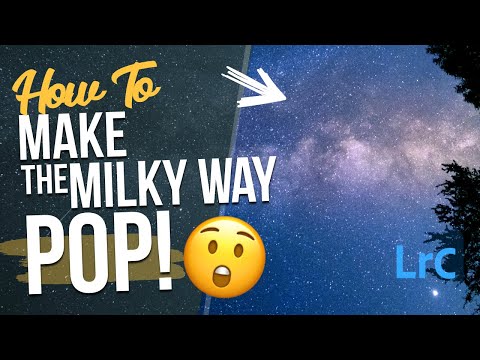
Do you want to learn how to edit the Milly Way in your photos, so it really pops? Good! Because this is exactly the content of the video I just published on YouTube!
I went with my friend Robert to Stonehenge, UK, for a night out, hoping to get some good shots of Comet Neowise again. And also the Milky Way and all we could squeeze in one night. My photo of the Milky Way that I then posted in my Instagram Stories received good feedback, so I thought I’d make a video about how I edited it. And this is that video 😉
Here I show you how to edit the Milky Way in Adobe Lightroom Classic, but all is achievable in the same way in CaptureOne. And probably in Affinity Photo too. Lightroom CC (the cloud-based version) lacks one feature that is only used to fine-tune in the end, so most of this is also achievable in the CC edition.
If you have any further questions about editing the Milky Way, let me know in the comments, and I’ll be happy to answer to the best of my knowledge.
The Video
And here is how to edit the Milky Way (with a little intro about gear and how to shoot astrophotography):
How to Edit a Milky Way photo to make it POP! | Lightroom (or CaptureOne)
Now, I should probably be less lazy and create a full tutorial post in this blog rather than link to my YouTube video. Not just about how to edit the Milky Way, of course. But YouTube is sucking a lot of my time at the moment (no complaints, I’m happy to do it) and leaves me little room for everything else.
But yeah, tutorials in this blog are definitely something I’ll add more and more, so stay tuned!
If you find any of the content on this blog useful, or if you kindly decide to support my work and help me create more content for you, you can donate via PayPal . Donation can be as low as £1 or as high as you want, but know that I think you are a wonderful human being and I can't thank you enough.
Purchasing anything from my store goes a long way in supporting my work and allowing me to create more content for this blog and my platforms. Items start at £2.97 only. In the store you will find prints, presets, books and my tuition offers. Many thanks in advance!
You can find more of my prints on Etsy and Society6 (on Society6 I only publish 10 items at a time, on a bi-monthly rotation).
If you want to receive regular updates and exclusive content, notices of occasional special offers, etc, then sign up for the newsletter. There's also a 10% discount coupon for you upon signing and regular offers that are only available to subscribers.
To find out more about my photo gear, I created a dedicated list on Amazon and Kit.co
Disclosure — Please know that some of the links in this blog are affiliate links and if you go through them to make a purchase I will earn a small commission. Always keep in mind that I link companies and their products because of their quality and not because of the commission I receive from your purchases. The decision is yours, and whether or not you decide to buy something is completely up to you. Purchasing via these links will make no difference to the cost to you (if anything, you might even get a discount) but the commission I receive will help me pay a percentage of the costs for hosting and maintaining this blog.
Thank you!
fabienb
https://fabienb.blog
Creative. Nomad. Photographer. (he/him)
/// formerly: Creative Director, UX Lead, DesignOps Manager, Web/Graphic Designer, Photographer, YouTuber, DJ, Public Speaker, Content Creator, AI-enthusiast, Food-Blogger...
/// Award-winning Designer and Photographer, published and exhibited worldwide
/// also known as Koan (DJ, Design)
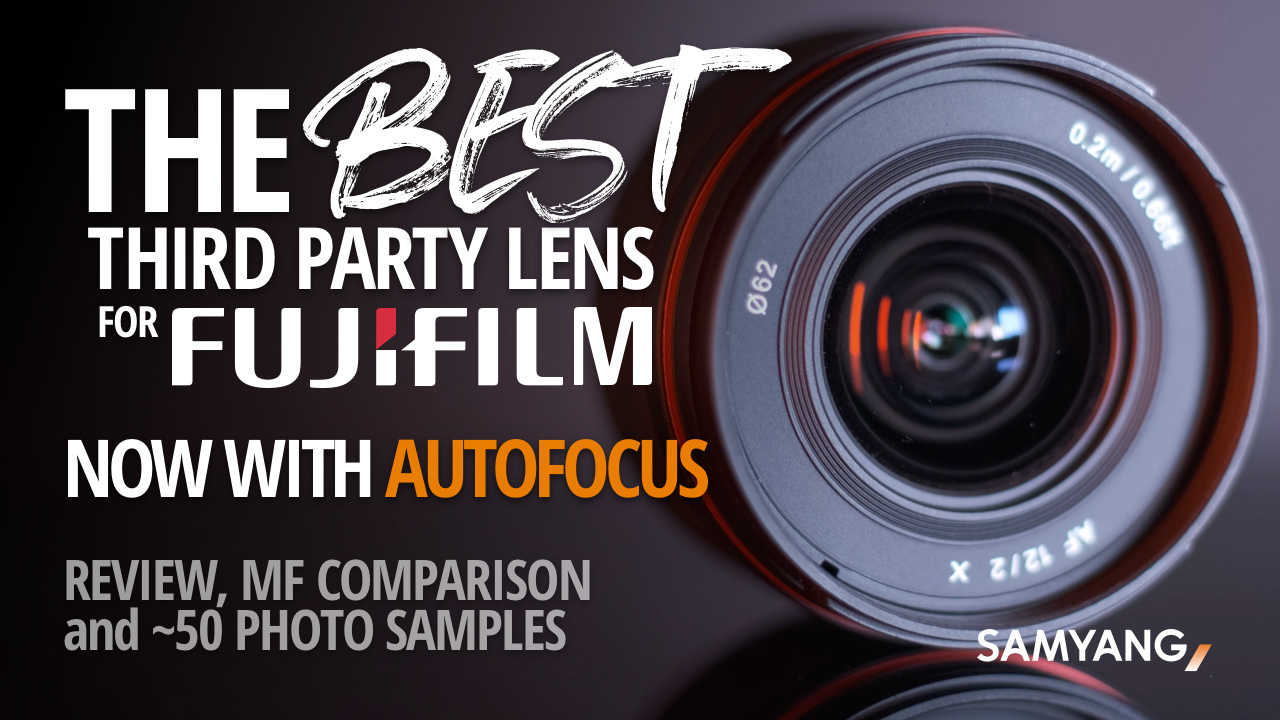
Listen to the automated audio version of this article: 0:00 0:00 100 I have always been a massive fan of the Samyang 12mm F2 lens for the Fujifilm X Series. In fact, it was actually the very first lens I purchased for my old X-T1, aside from the kit lens!It is my primary go-to lens for Astrophotography, and I use it a lot for Architecture and Landscape. It was also the main...
Listen to the automated audio version of this article: 0:00 0:00 100 We have been waiting a long time for this: Capture One for iPad is finally a reality! It has been made available for public testing to a limited amount of registered Capture One users, including myself. And, of course, I put this to the test straight away and recorded my experience in a YouTube video… The Video So here is...
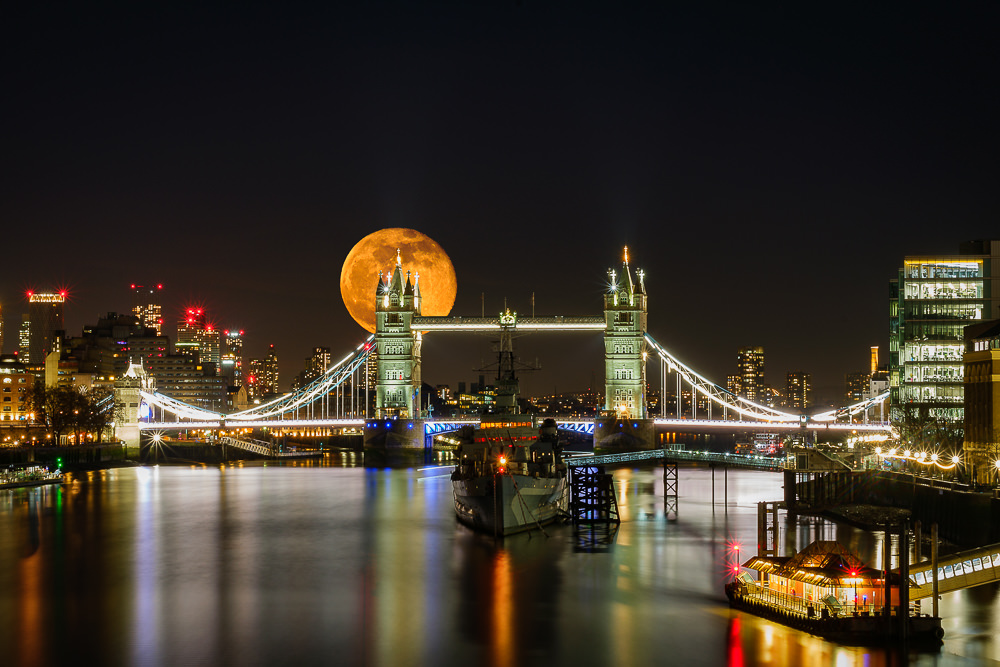
Listen to the automated audio version of this article: 0:00 0:00 100 Tonight we will witness the last Supermoon of the year, so what is it and how to photograph the Supermoon? This was the topic of a conversation on Clubhouse last Monday as part of our Astrophotography Club. I was asked to talk about my experience and give some tips on getting these photos right as, coincidentally, I am running a...
We use cookies on our website to give you the most relevant experience by remembering your preferences and repeat visits. By clicking “Accept”, you consent to the use of ALL the cookies.
This website uses cookies to improve your experience while you navigate through the website. Out of these cookies, the cookies that are categorized as necessary are stored on your browser as they are essential for the working of basic functionalities of the website. We also use third-party cookies that help us analyze and understand how you use this website. These cookies will be stored in your browser only with your consent. You also have the option to opt-out of these cookies. But opting out of some of these cookies may have an effect on your browsing experience.
Necessary cookies are absolutely essential for the website to function properly. This category only includes cookies that ensures basic functionalities and security features of the website. These cookies do not store any personal information.
Any cookies that may not be particularly necessary for the website to function and is used specifically to collect user personal data via analytics, ads, other embedded contents are termed as non-necessary cookies. It is mandatory to procure user consent prior to running these cookies on your website.