No products in the cart.
Listen to the automated audio version of this article:
Today’s Story Behind The Shot at Haleakalā is about one of my absolute favourite photos..
After quitting my Creative Director job, I travelled around the world. In one instance, I literally travelled full circle moving East (and that’s when I started this blog). It was a trip that gifted me with many experiences, memories and friendships.
To start, it was my first time visiting East Asia, and getting in touch with a completely different culture. I faced the reality of living in the proximity of hurricanes, something that never really gets entirely through from a TV screen.
I even travelled through time! My flight from Tokyo departed on a Wednesday at 11pm and landed in Honolulu the same Wednesday at 9am! Thanks to the magic of time zones, I got a whole extra day abroad!
So, I just mentioned Hawaii… I didn’t stay in Honolulu but took another short flight to Maui. The initial plan was to only do a 2-day stopover and break the long haul from Japan to the US. But, as things never really go to plan, I had to change at the last minute and ended up staying 4 days. This gave me a chance to explore. Rather than sipping cocktails and eating gold pineapple while relaxing on the beach, I went to the rainforest and on top of a volcano.
More details about my Hawaiian stay in another post (one that’s been sitting in the drafts for a while now). Here I’m going to focus on one astonishing event.
Sunrise on top of Haleakalā
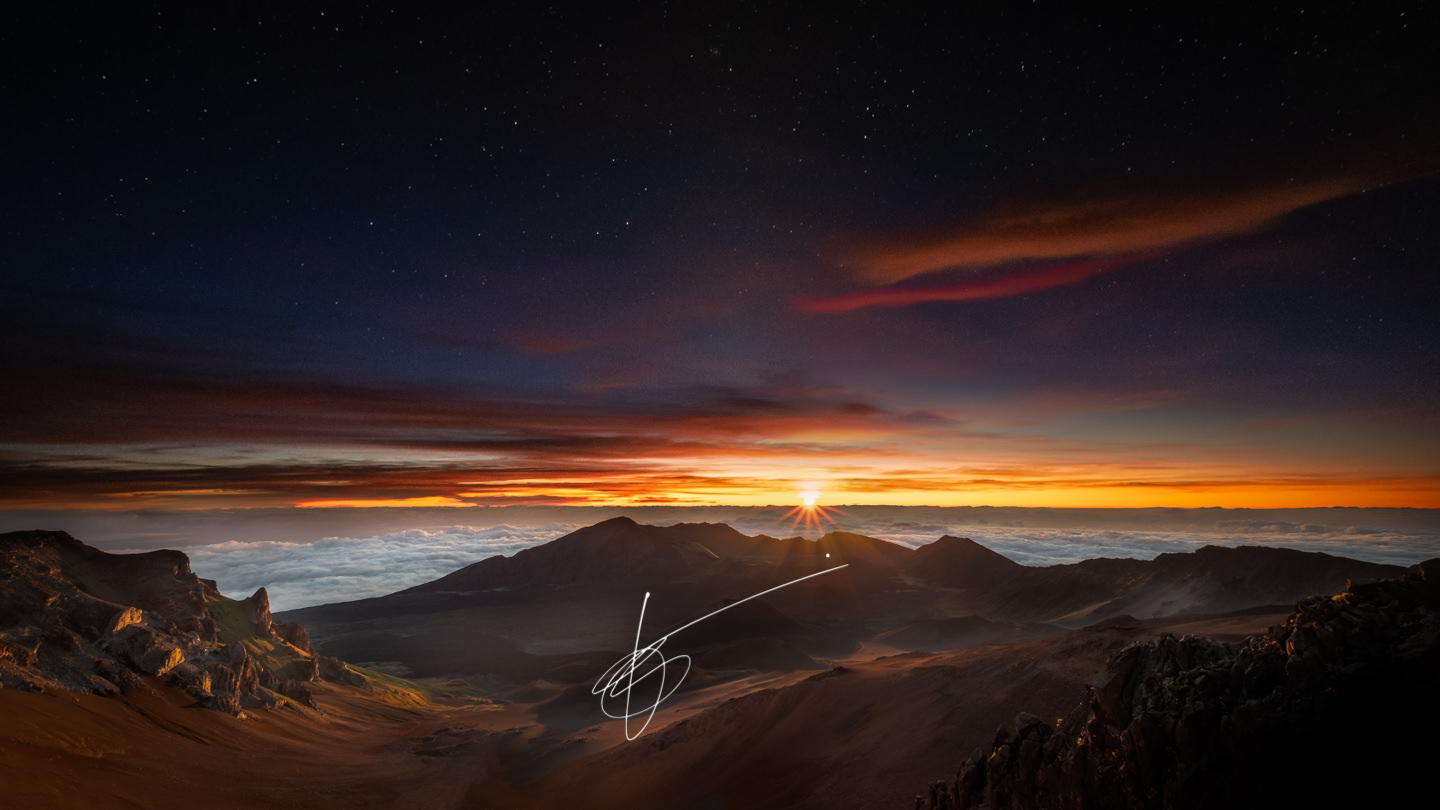
F/4.0-F/8 | ISO 200-2000 | 1/10 sec – 30 sec |
Provia film simulation
One of the main activities in Maui is climbing to the top of the Haleakalā volcano for sunrise. And you know I’m a sucker for sunrise and sunset. I cheated because I went up with an organised tour in a van rather than hiking. It was probably best, as the road holds the world record for “climbing to the highest elevation in the shortest distance” of 38 miles. You don’t just need to be fit; you must be very well-trained.
I woke up at 2am to be ready to shoot at 6am. On the way up, I noticed the sky was entirely obscured by clouds, so I started losing hope for a good sunrise. I had arrived from Tokyo where the weather had been so bad I never got to see Mount Fuji at all, not even while passing under it with the bullet train (fog, in that case). So I had my mind set on accepting another failure.
But the Haleakalā summit is high, and we rose above the clouds. I could see the starry sky above me when we reached the top, so I became hopeful again.
Our van was the first to arrive (thank you so much, Valley Isle!), so I managed to secure a “front seat”.
But, in complete darkness, it’s really tough to compose a shot! Seriously, it was so dark I could barely see the face of the person next to me, and the moon was setting below the clouds.
How was I supposed to frame a shot of a crater as large as Manhattan with the sun rising somewhere in the distance?
Well, I simply gave up framing.
Shooting
I had no option but to use a wide angle and hope for the best. So I set the tripod to what felt like a solid spot, put my Fujifilm X-T2 on and added the Fujinon XF10-24mm F/4 (at 10mm).
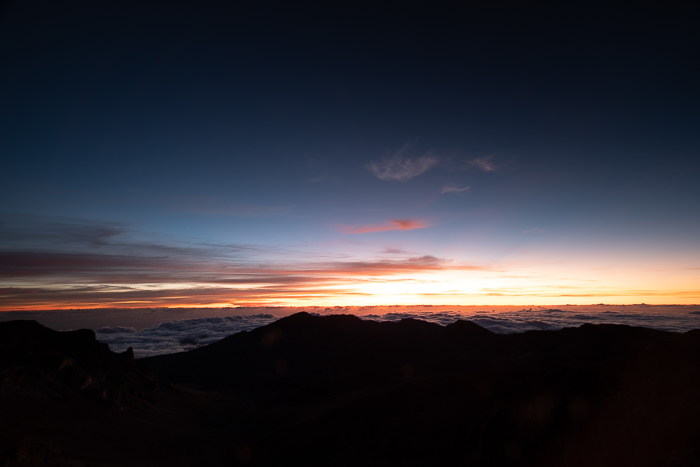
I took a few shots of the stars (trying astrophotography for the first time). And while taking those photos, I started to see some colour in the sky. That gave me a rough idea of where the sun would then rise.
This was during the equinox, so everything happened very quickly (because of how the Earth tilts). While it was brightening up, I started to better understand the Haleakalā surroundings. I could see some shapes and that the low clouds were still there. But more importantly, I could see the beautiful colours in the sky.
I almost stopped shooting because of how astonishing the whole scene was!
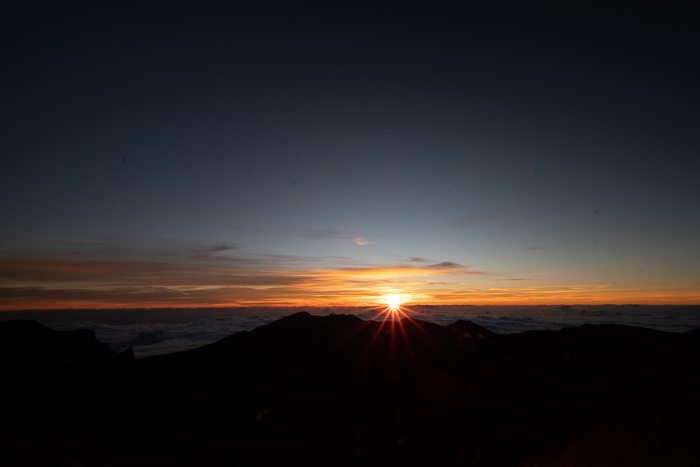
But I took my photos, adjusting the settings according to how the light conditions evolved. I started with ISO2000 F/4 30sec and ended with ISO200 F/8 1/10s. When the sun appeared, I also started taking bracketed shots.
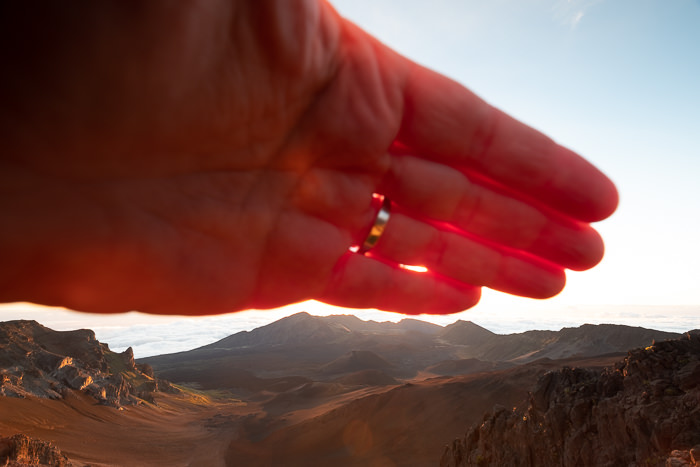
On a few occasions, I used my hand to cover the sun because it was causing some bad lens flare.

All of this because, for the first time, I felt that the coin had dropped. I had found my purpose, and I knew exactly what I was doing and what I wanted to achieve. I was not thinking about the photo; I “knew” the photo spontaneously.
This is why I’m so emotionally attached to this image. It was like my coming of age.
Compositing
I knew all of a sudden that this would end up being a time-blending composite.
The exact technique to achieve this in Photoshop will be material for a tutorial sometime in the future. The principle is similar to HDR. But with HDR, you take the same photo with different settings in one click (bracketing). With time-blending, you select the best elements of a few photos shot in a period of time and stack them together. It involves Luminosity Masks, which I have introduced in a previous post (as well as a video tutorial), and some accurate editing. It can be time-consuming, but it can return very rewarding results.
For this image, I used 5 different photos of Haleakalā that I took within 15-20 minutes.
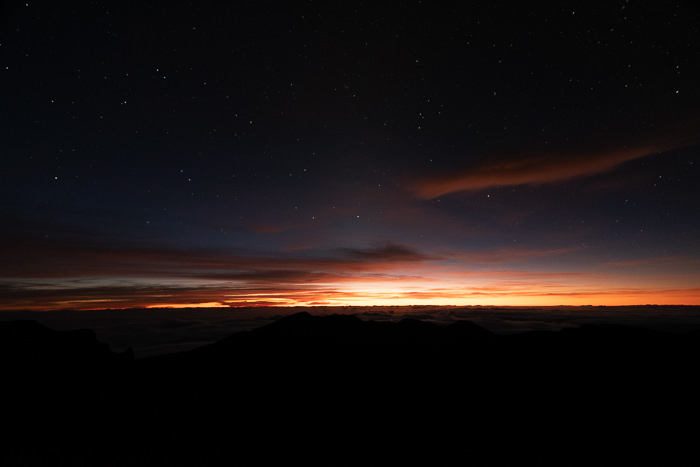
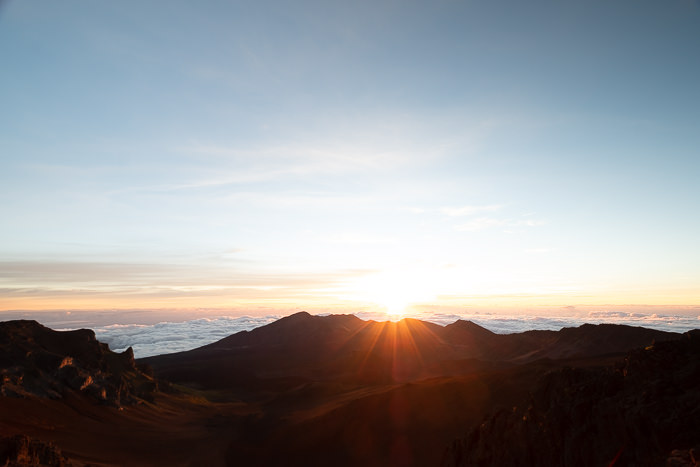
You can see that the third photo could have been a decent photo in itself, with a few adjustments to colour, exposure, etc. But it was only by taking bits from the other shots that I managed to capture the essence of my experience in one image.
I suppose some purists might see this as cheating. To me, it was about recreating my experience and overcoming the limitations of my camera. Photography is capturing a moment in time, right? Well, that “moment” was the entirety of my time on top of the Haleakalā volcano. From the starry nights when I arrived to the warmth of the first sun rays touching my face. And it’s all there.
It’s not a distortion of reality. It is 100% real: it’s all there and exactly how I experienced it.
It would be interesting to know what you think about this technique. I suppose this is good material for a conversation. Perhaps a neverending debate.
Leave your comments below, and let’s talk about it.
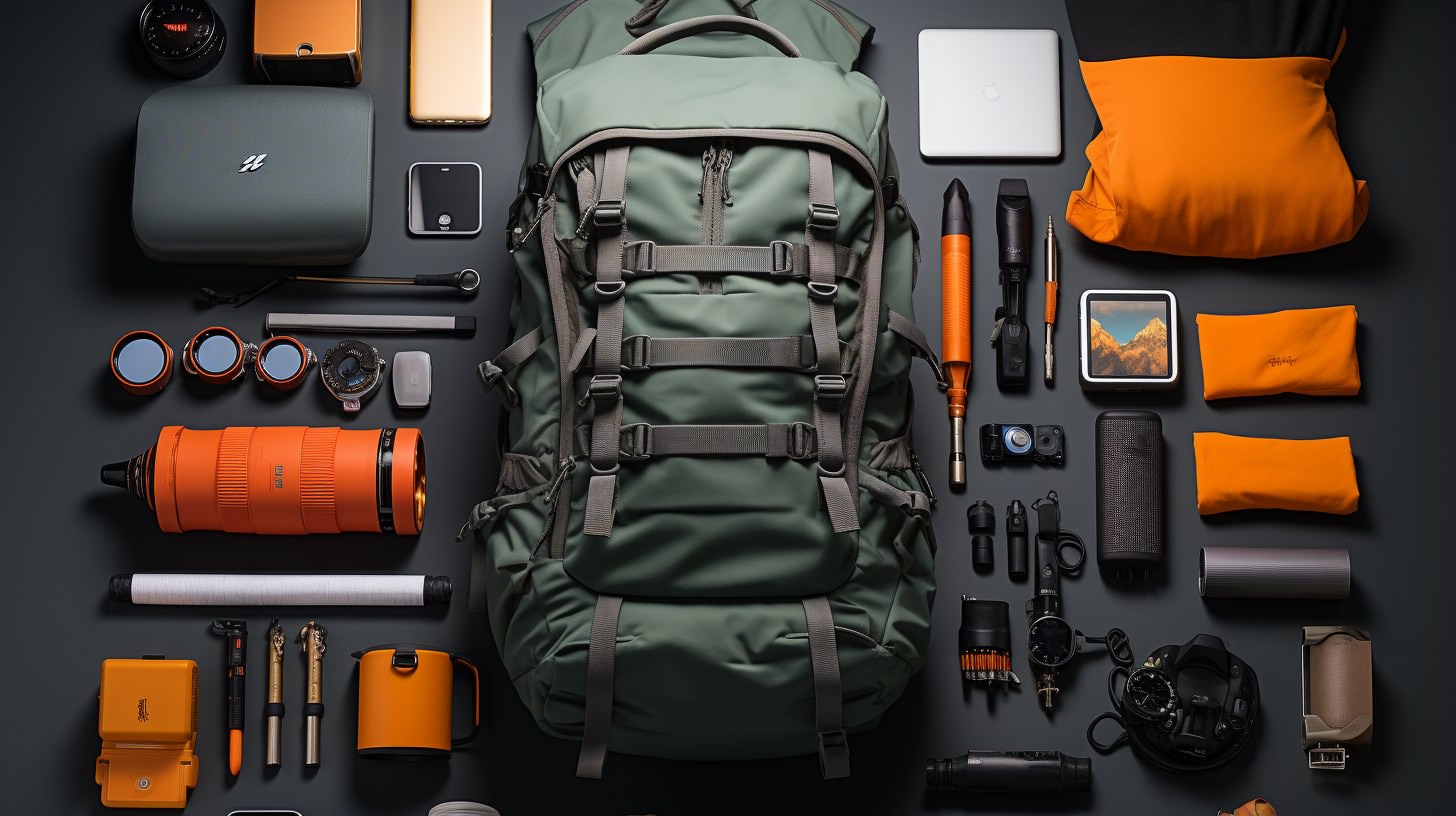
Gear
Of course, this post would not be complete without the gear list…
- Fujifilm X-T2: https://amzn.to/3bvvjwJ
- Fujinon XF 10-24mm F/4: https://amzn.to/3dVQxoL
- My underrated travel tripod for the past 4 years: https://amzn.to/2X4MaBL
- The best tool for editing is the Wacom tablet (Medium): https://amzn.to/39OcoLD
A note
This might be the last Story Behind The Shot that I make publicly available as a blog post.
I have been sending these to my newsletter subscribers, and I want to let them feel they are getting something valuable, exclusive to them. I’m also linking this blog to my Patreon, so this content will be made available to all my supporters as well. Supporting my work through Patreon starts at a mere $1.25/month (the 25 cents are the Paypal fee). It’s a way to show your appreciation and means the world to me, particularly during tough times.
With both the newsletter and the Patreon subscription, you get a few perks. Maybe these are a good incentive…
As always, thank you so much for reading it all through here!
Aloha! Mahalo!